Using sticky back plastic to Wrap the kitchen
Do you fancy a kitchen revamp but don’t want to buy a full new kitchen? Read this

When we bought the house we really didn’t have the budget to be buying a new kitchen. We did the bathroom up (which I’ll definitely do a blog post about!) but the kitchen was technically fine. There was nothing wrong with it, all of the doors and cupboards were in decent condition and the oven and hob was built in so we decided it wasnt a priority for a full new kitchen.
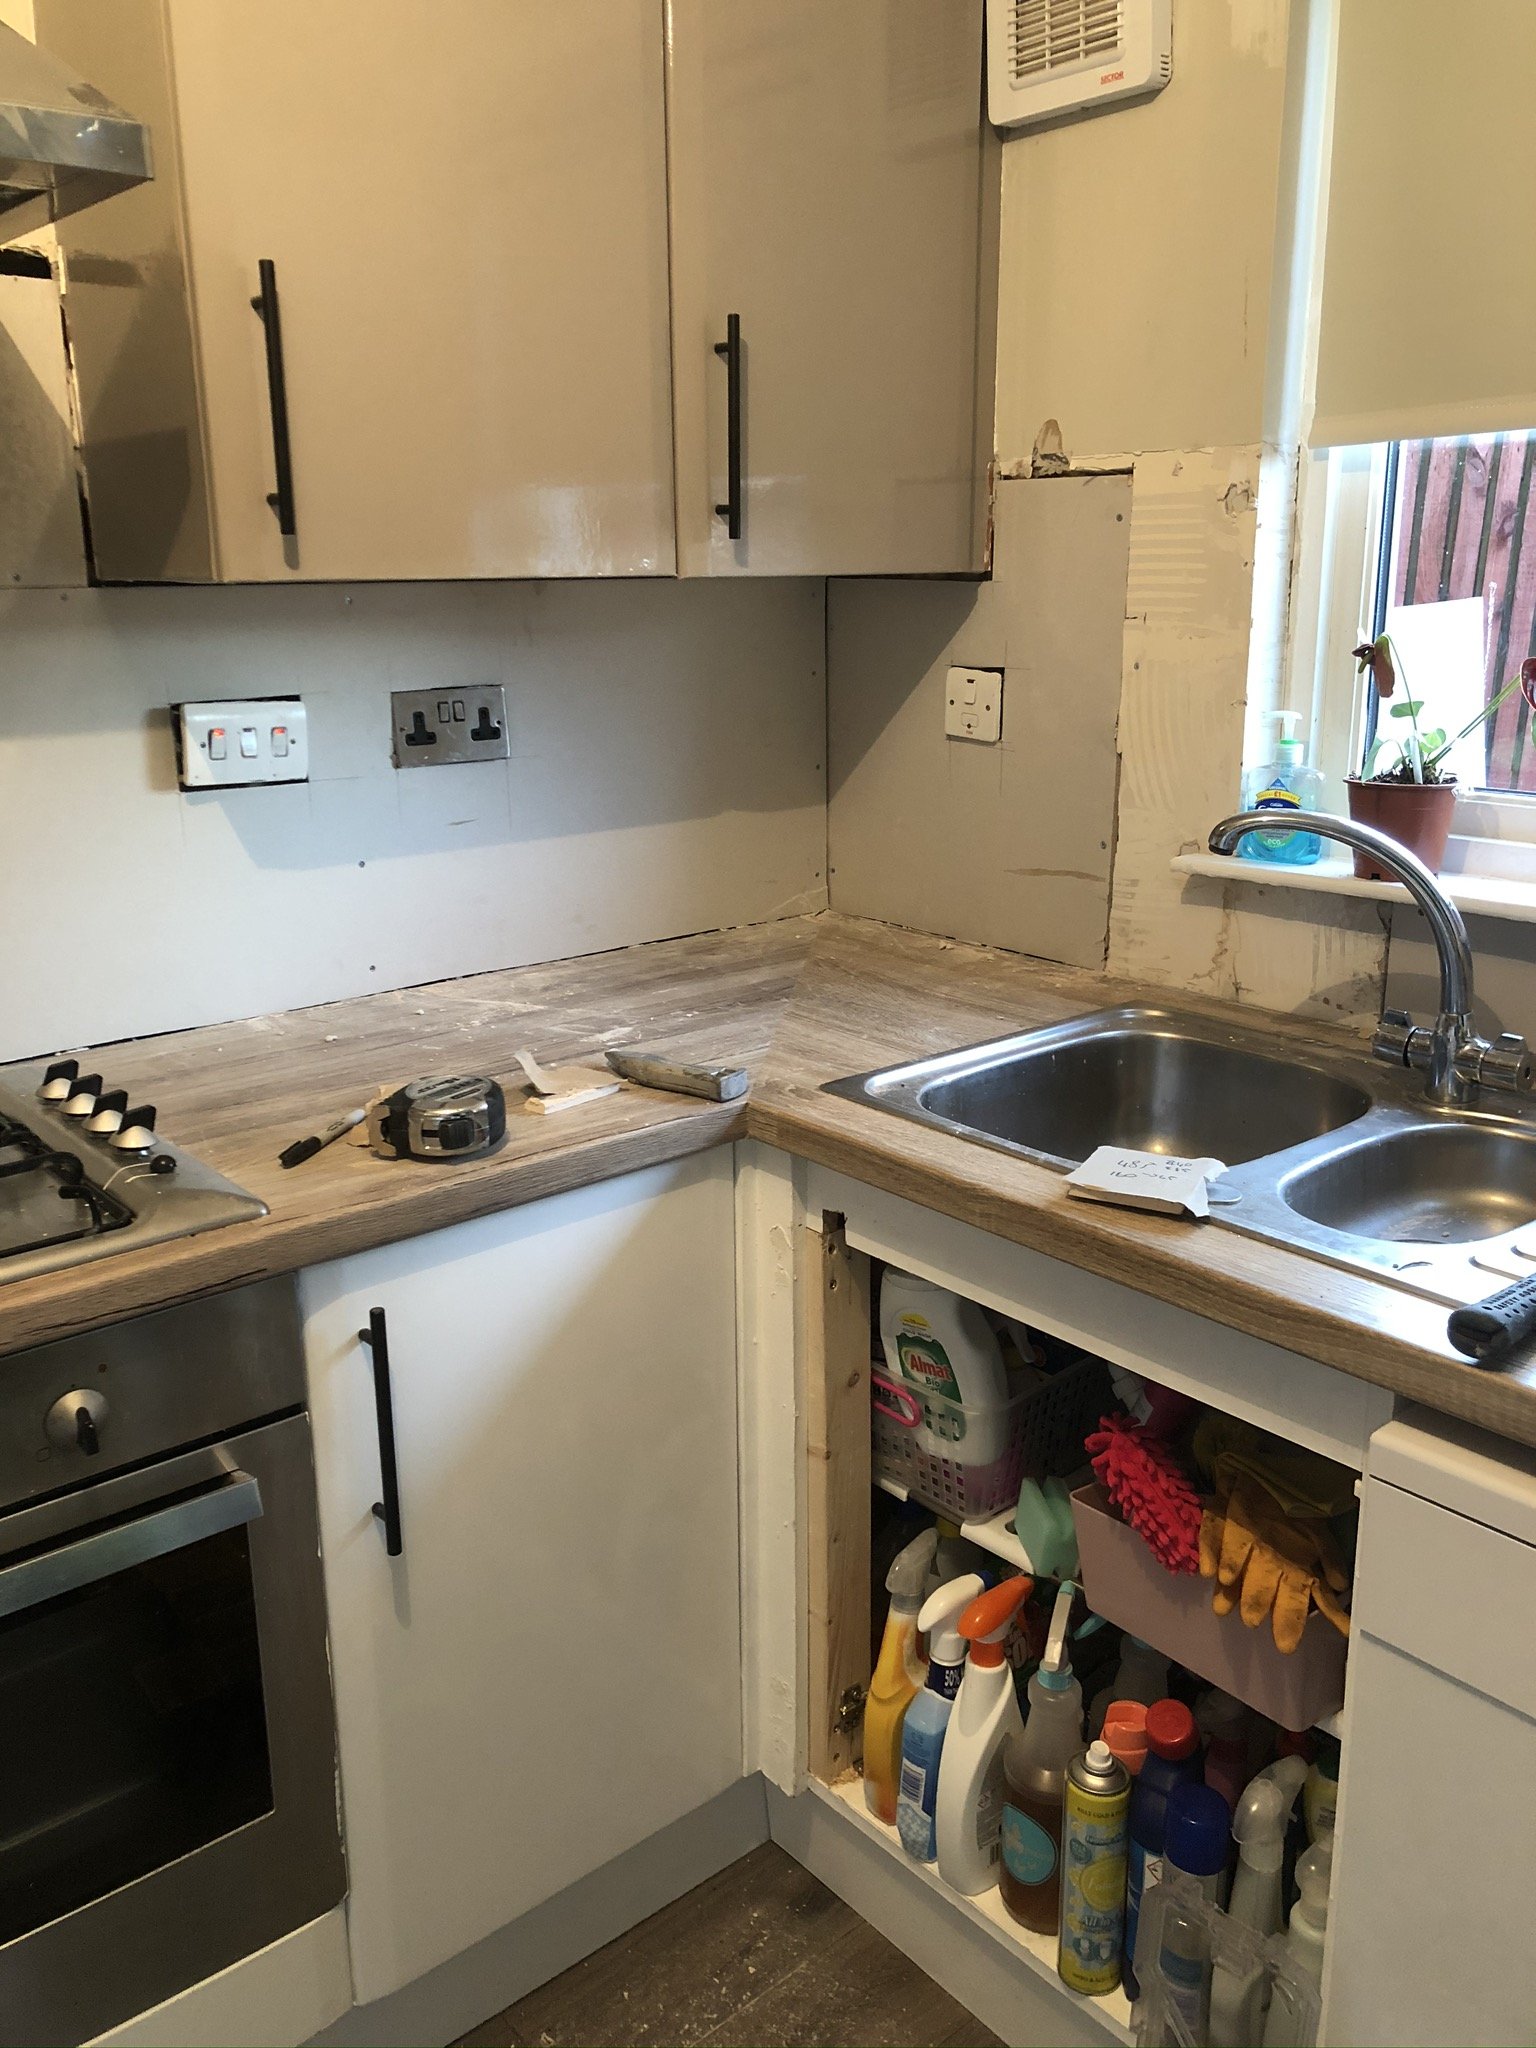
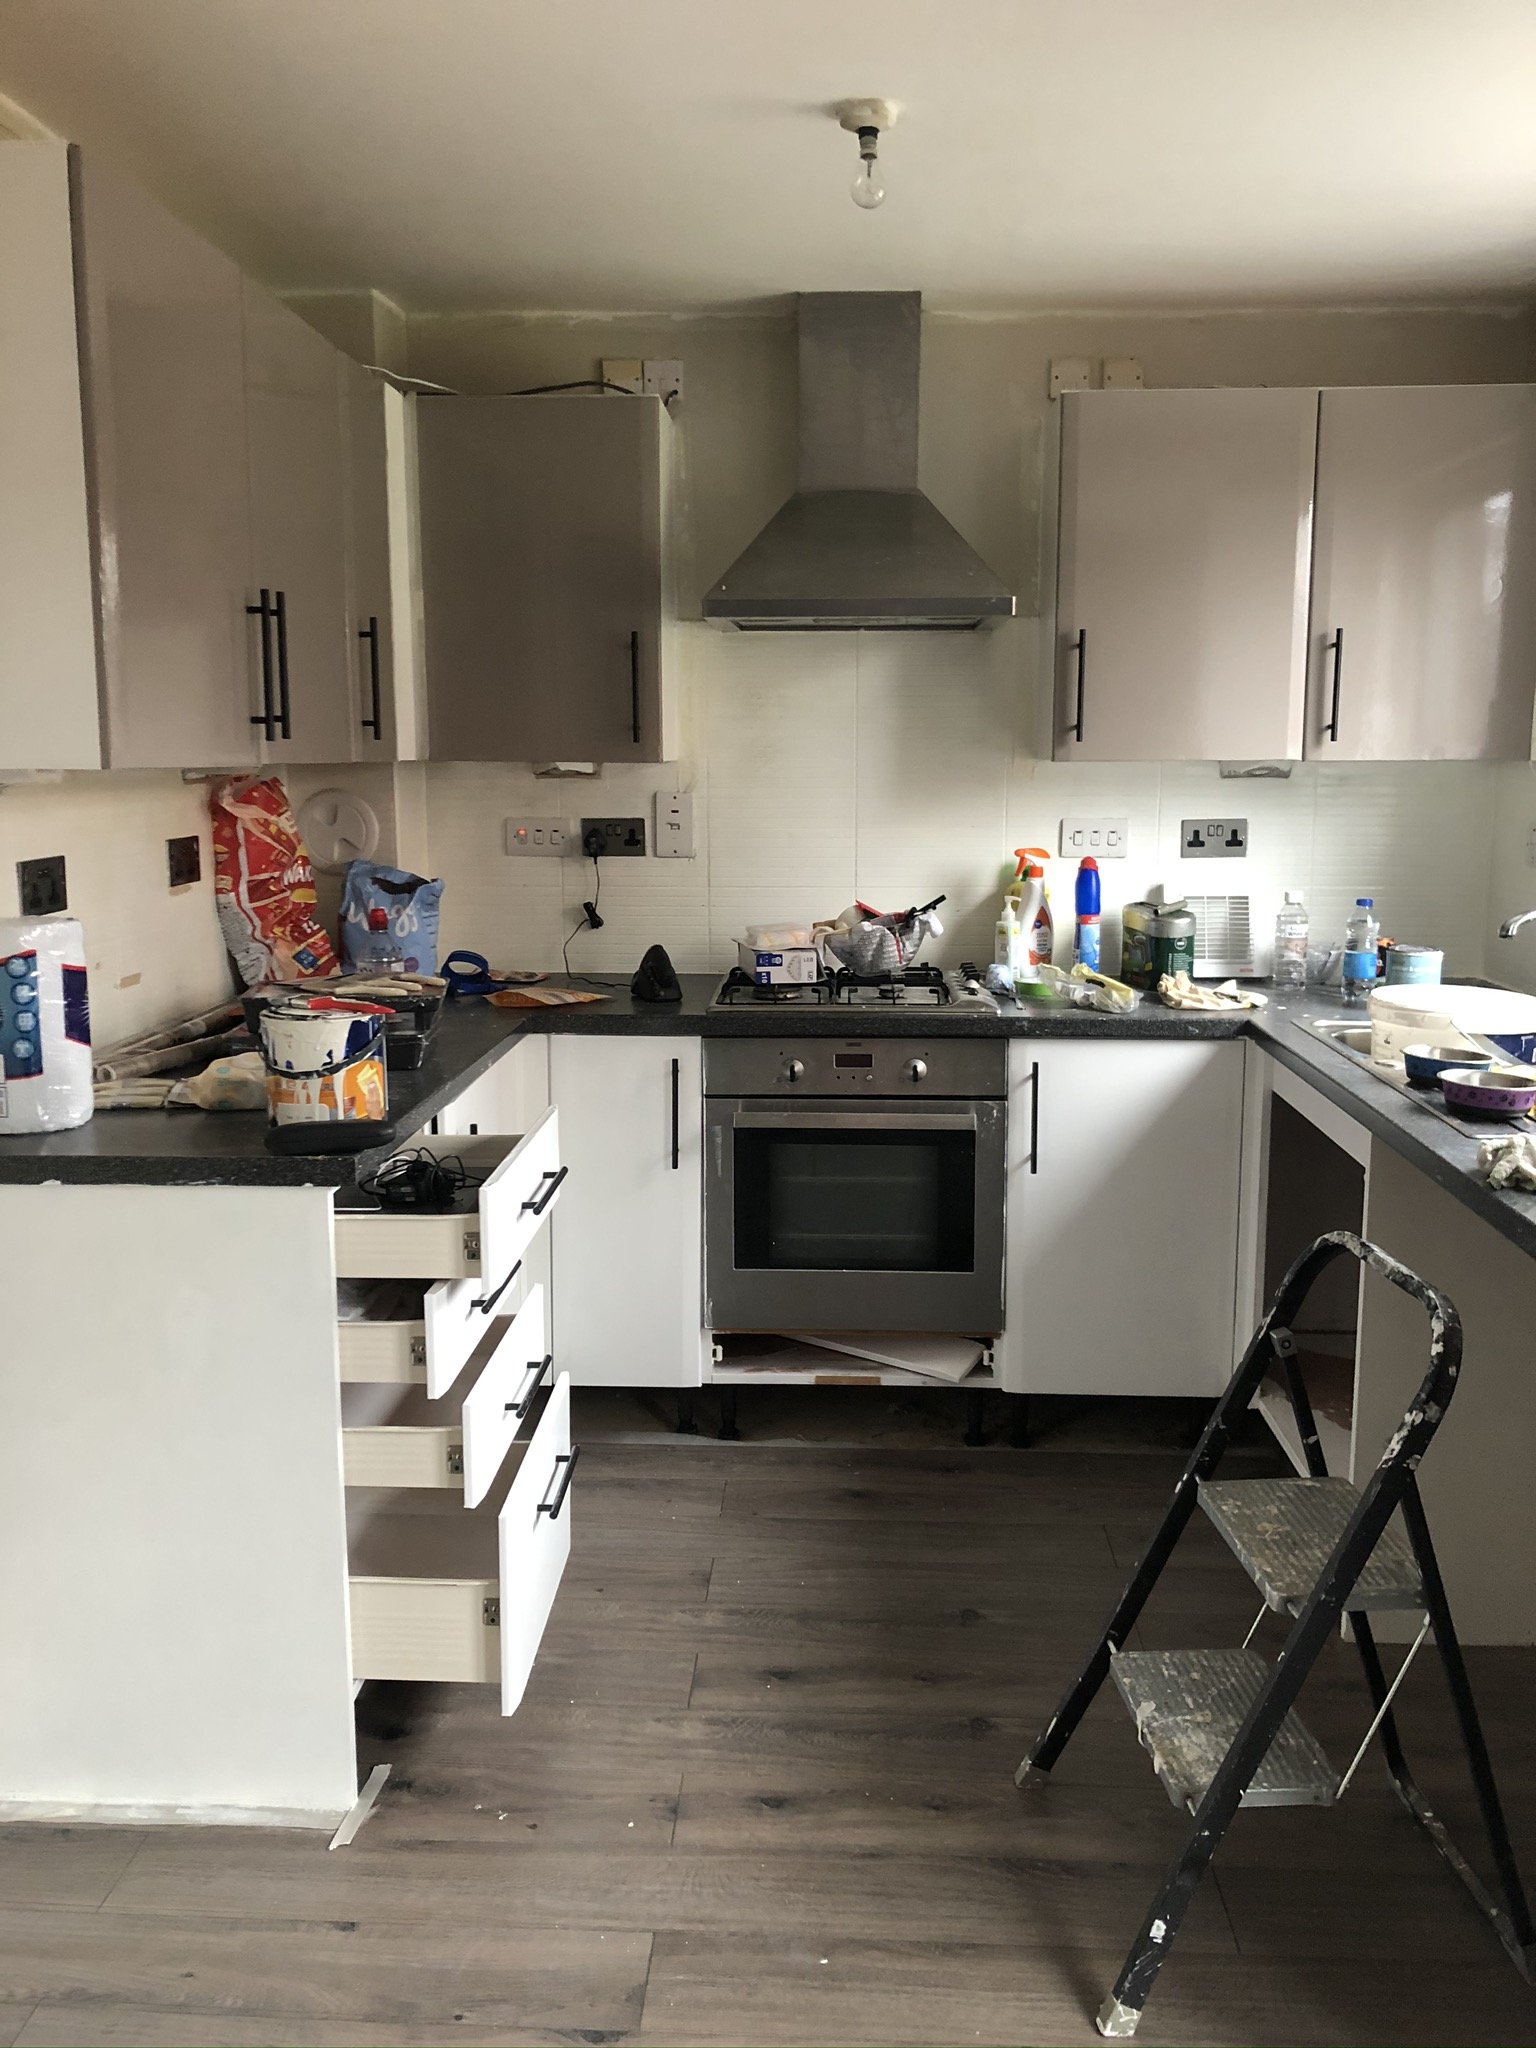
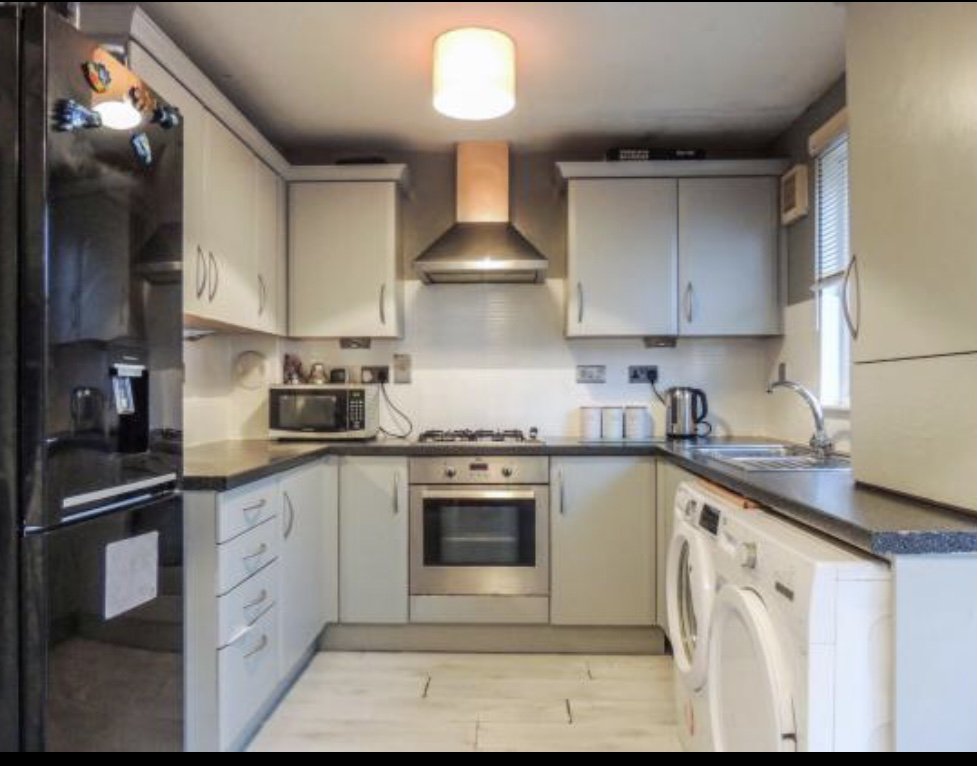
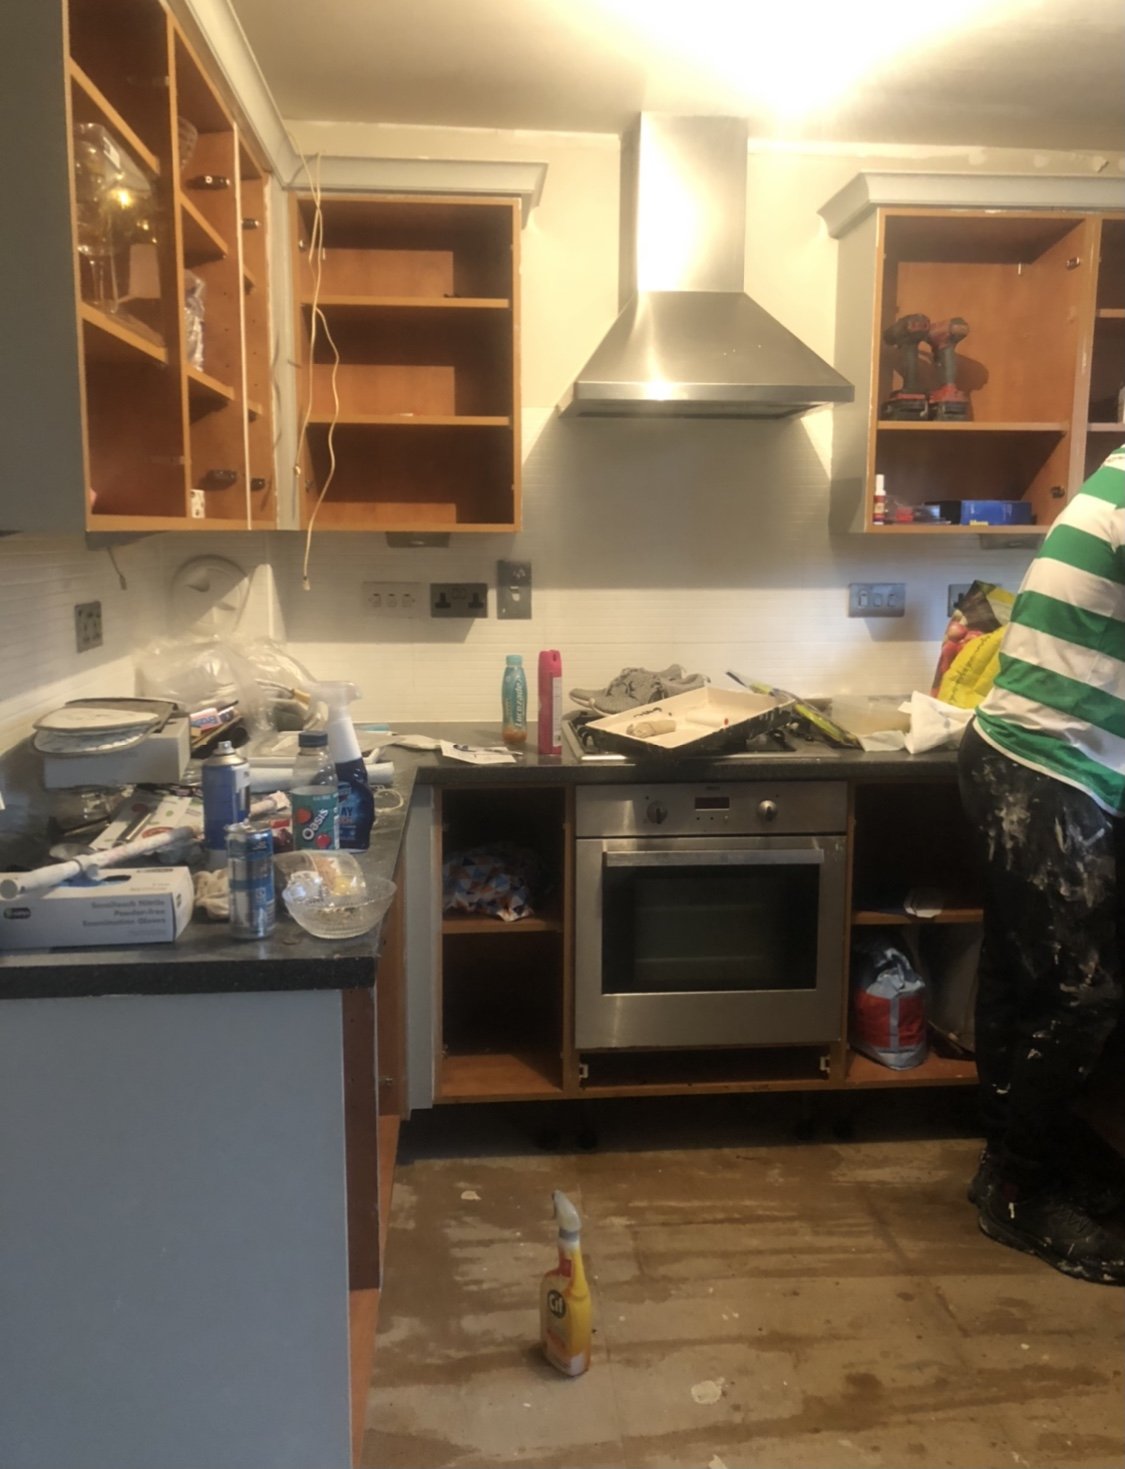
The original kitchen was wooden and quite dated looking (we could see this from other homes for sale in the street) but the previous owners had painted over this with a blue/grey colour - see pic below. When we viewed the house it really didn’t look too bad - check my previous blog about buying a new home though and why you should definitely look harder when viewing!! So when we got the keys we got to see how it really looked and it was BAD.

The kitchen before
Sticky Back Plastic
That’s when I decided to wrap it with sticky back plastic. I had looked into wrapping before ever since I seen Stacey Solomon do it on her utility room so I knew a bit about it and how it worked. I got major colour scheme inspo from the house kim built on Instagram, and of course the colours tied in with the rest of the house.
Inside of the cupboards were still the dark wooden colour from the original kitchen so I decided they would need to be painted white too, to look fresh. I used cupboard paint for these, this probably took the most time. There was just so much to paint but we got there in the end and my mum helped me.
The next step was to do the wrapping. This is definitely a process that takes practice, but once you get used to it, its actually quite enjoyable. You need the correct tools which include:
scissors
a sander (not essential but helpful if your surface has been painted before or is uneven)
the sticky back plastic - we used white, beige and Sonoma oak, but they have so many other options for you to choose from so be wild!
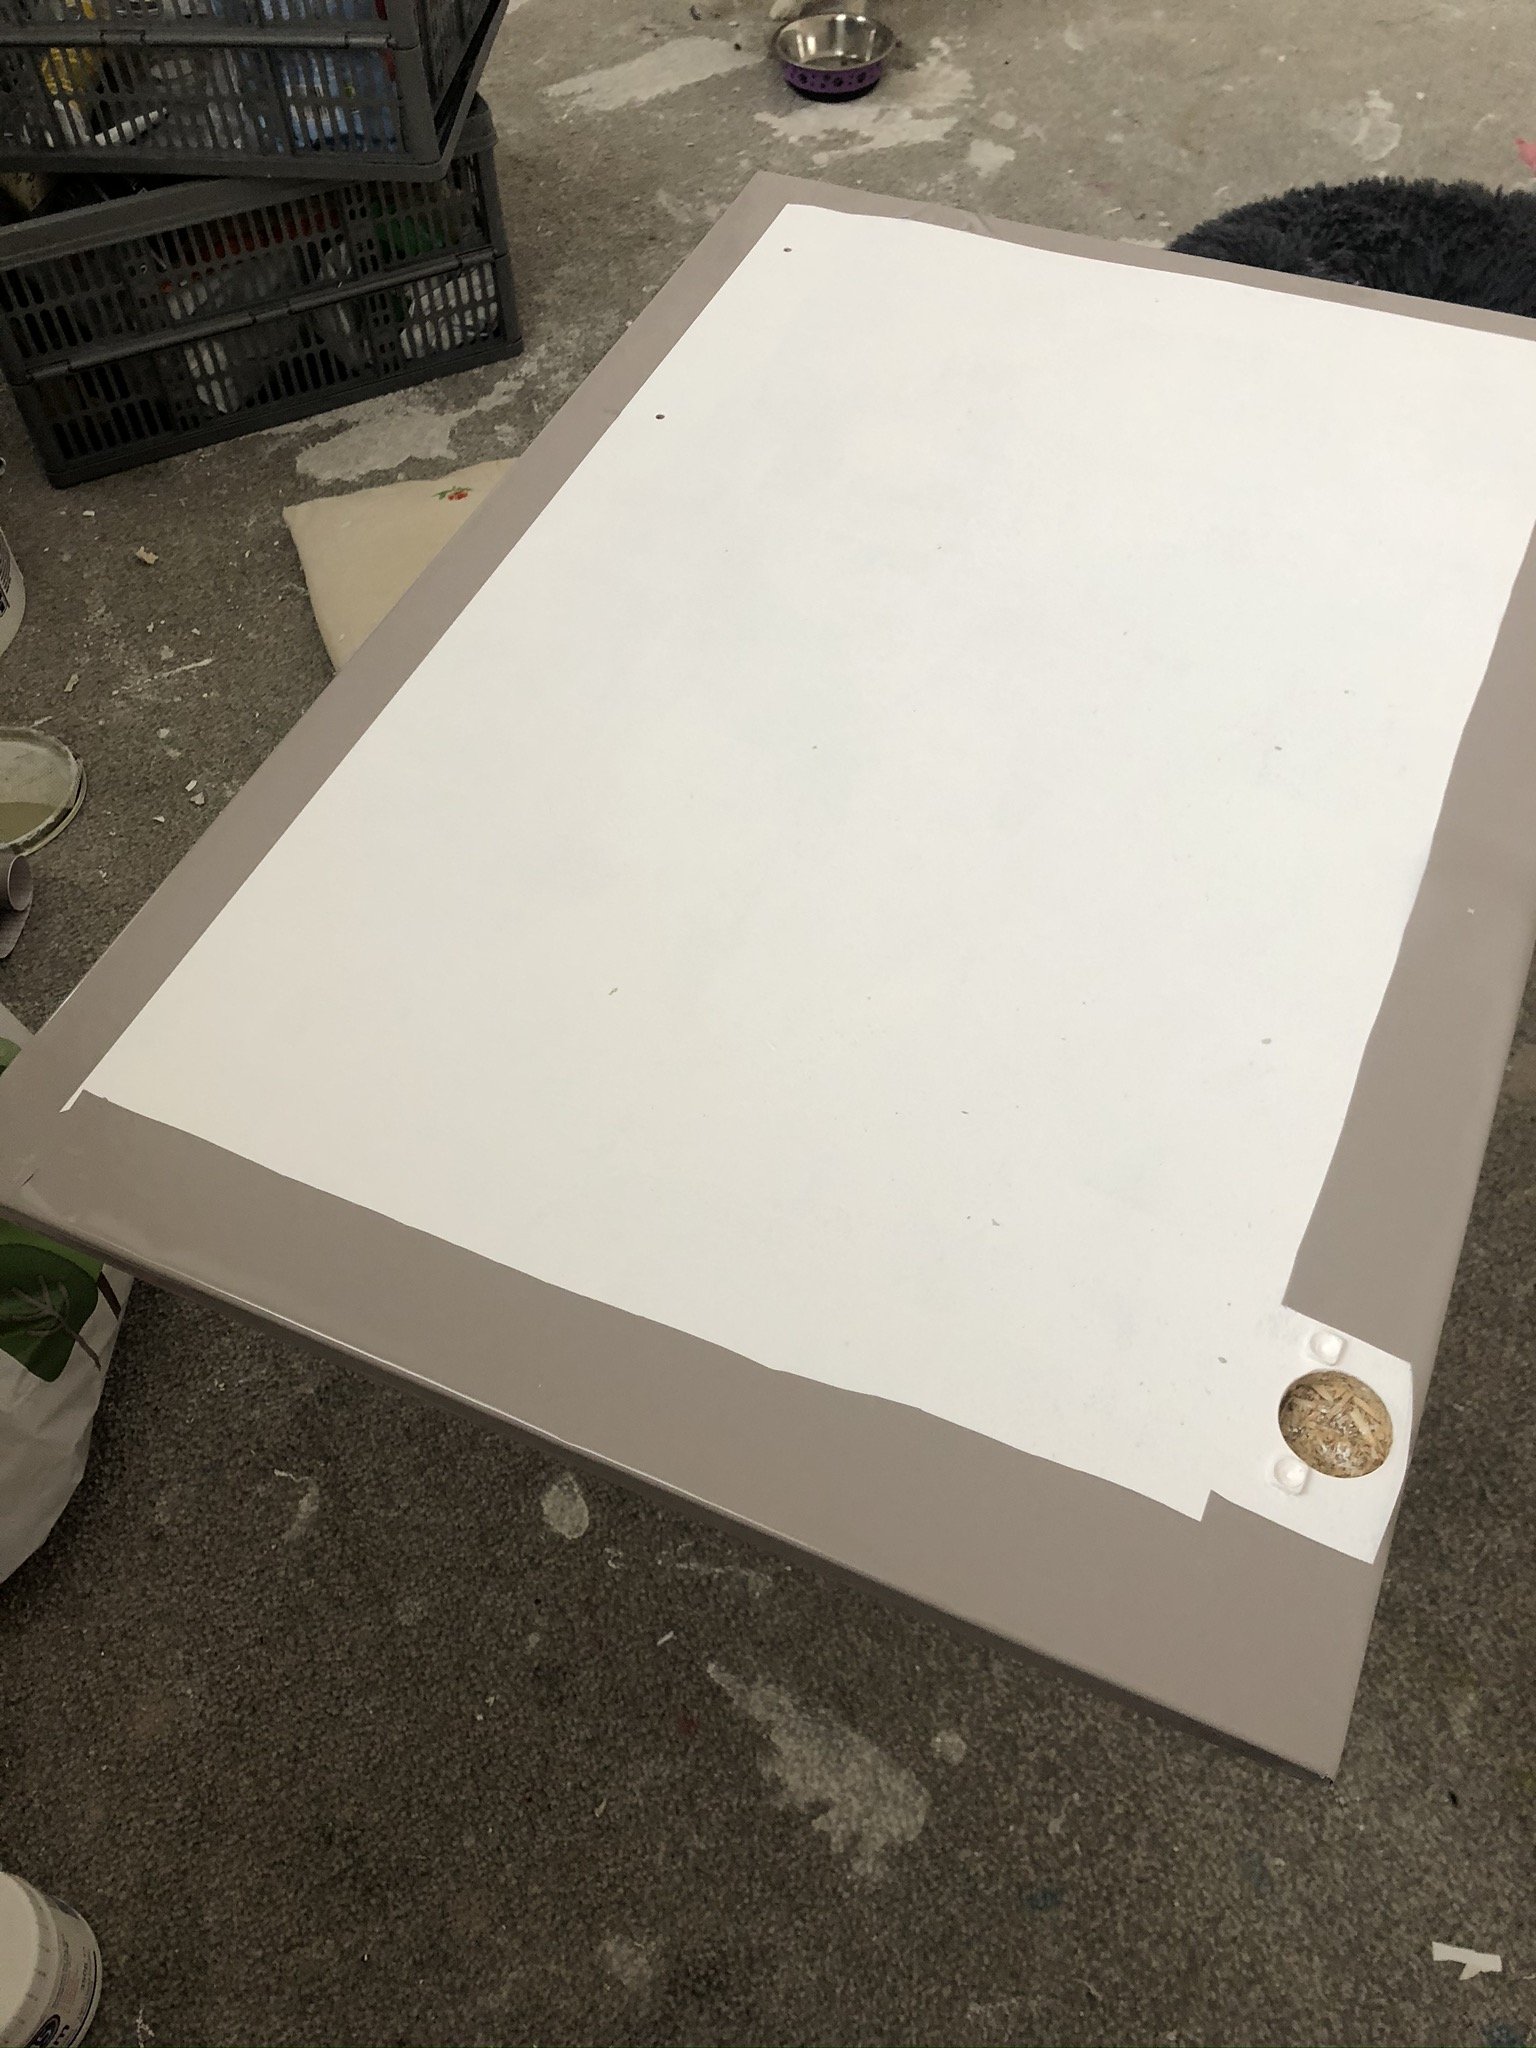
And we got to work. Getting used to putting the plastic on is the first stage, take off the paper a couple inches at a time and stick it to the surface, ensuring it is straight and aligned, and then use the application tool to smooth it out, getting rid of any air bubbles. Don’t worry too much if you do get small bubbles you cant get out as you can use a small pin to get the air out of these and it wont be noticeable.
When it comes to the corners it is best to smooth down as far as you can, then cut a triangle shape out of the plastic before smoothing it down at the back, this part reminds me of wrapping presents.

Fold it like a Christmas present
Another easy way of manipulating the plastic is to use a hairdryer on any creases in your woodwork, this softens the plastic and allows it to get into any unusual patterns.
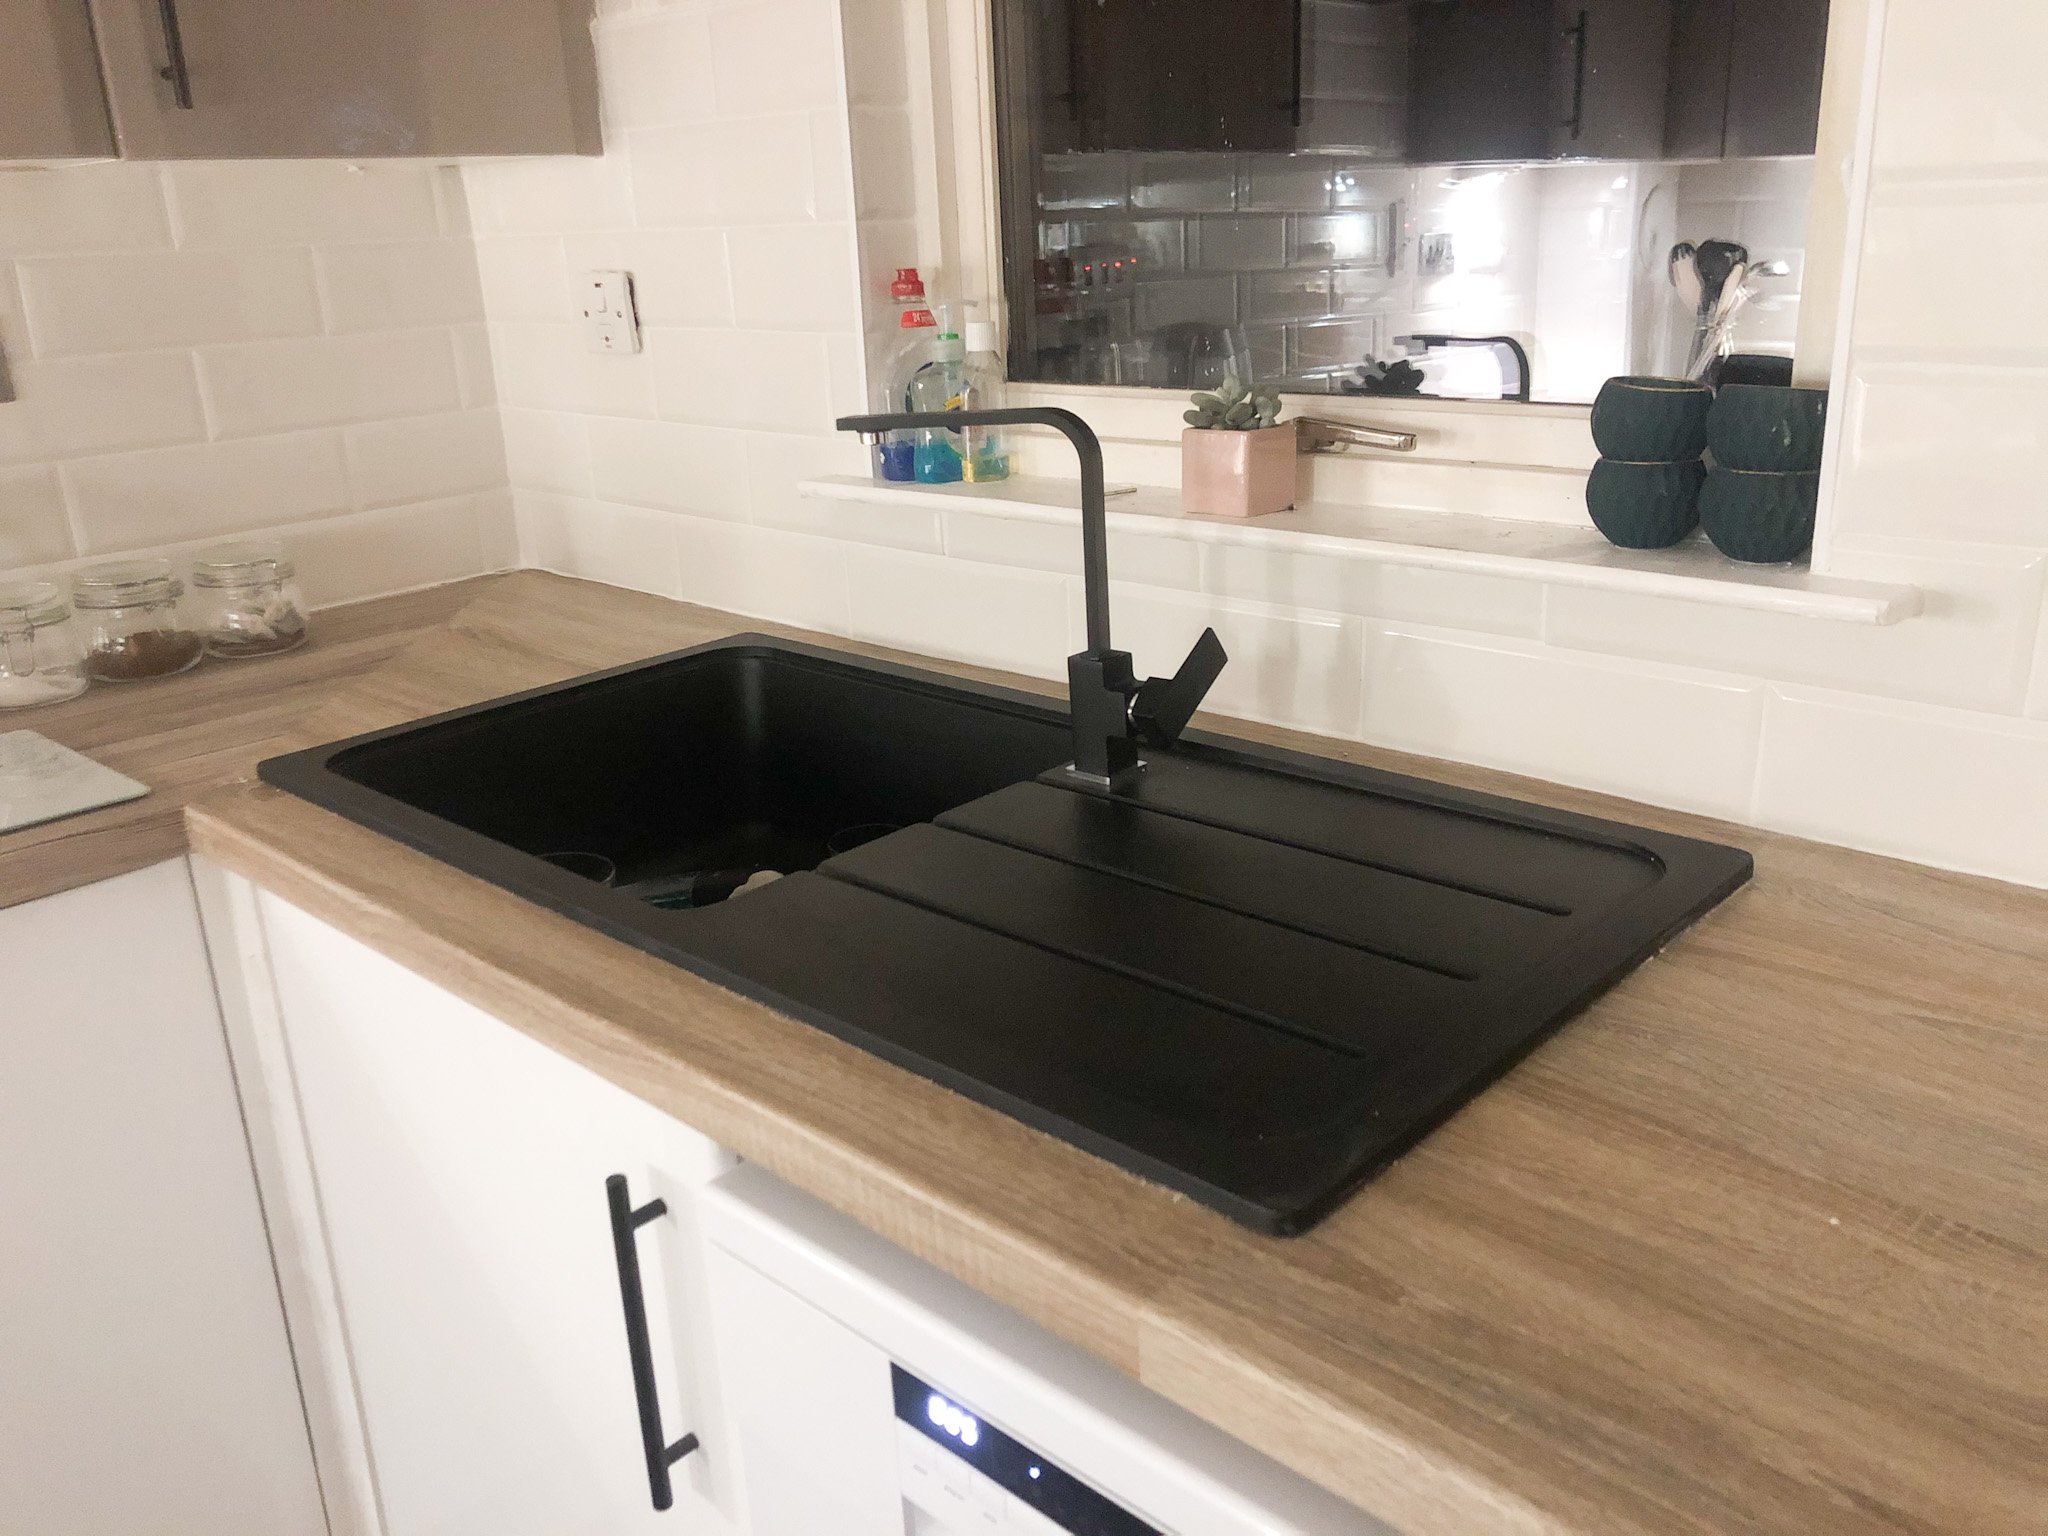
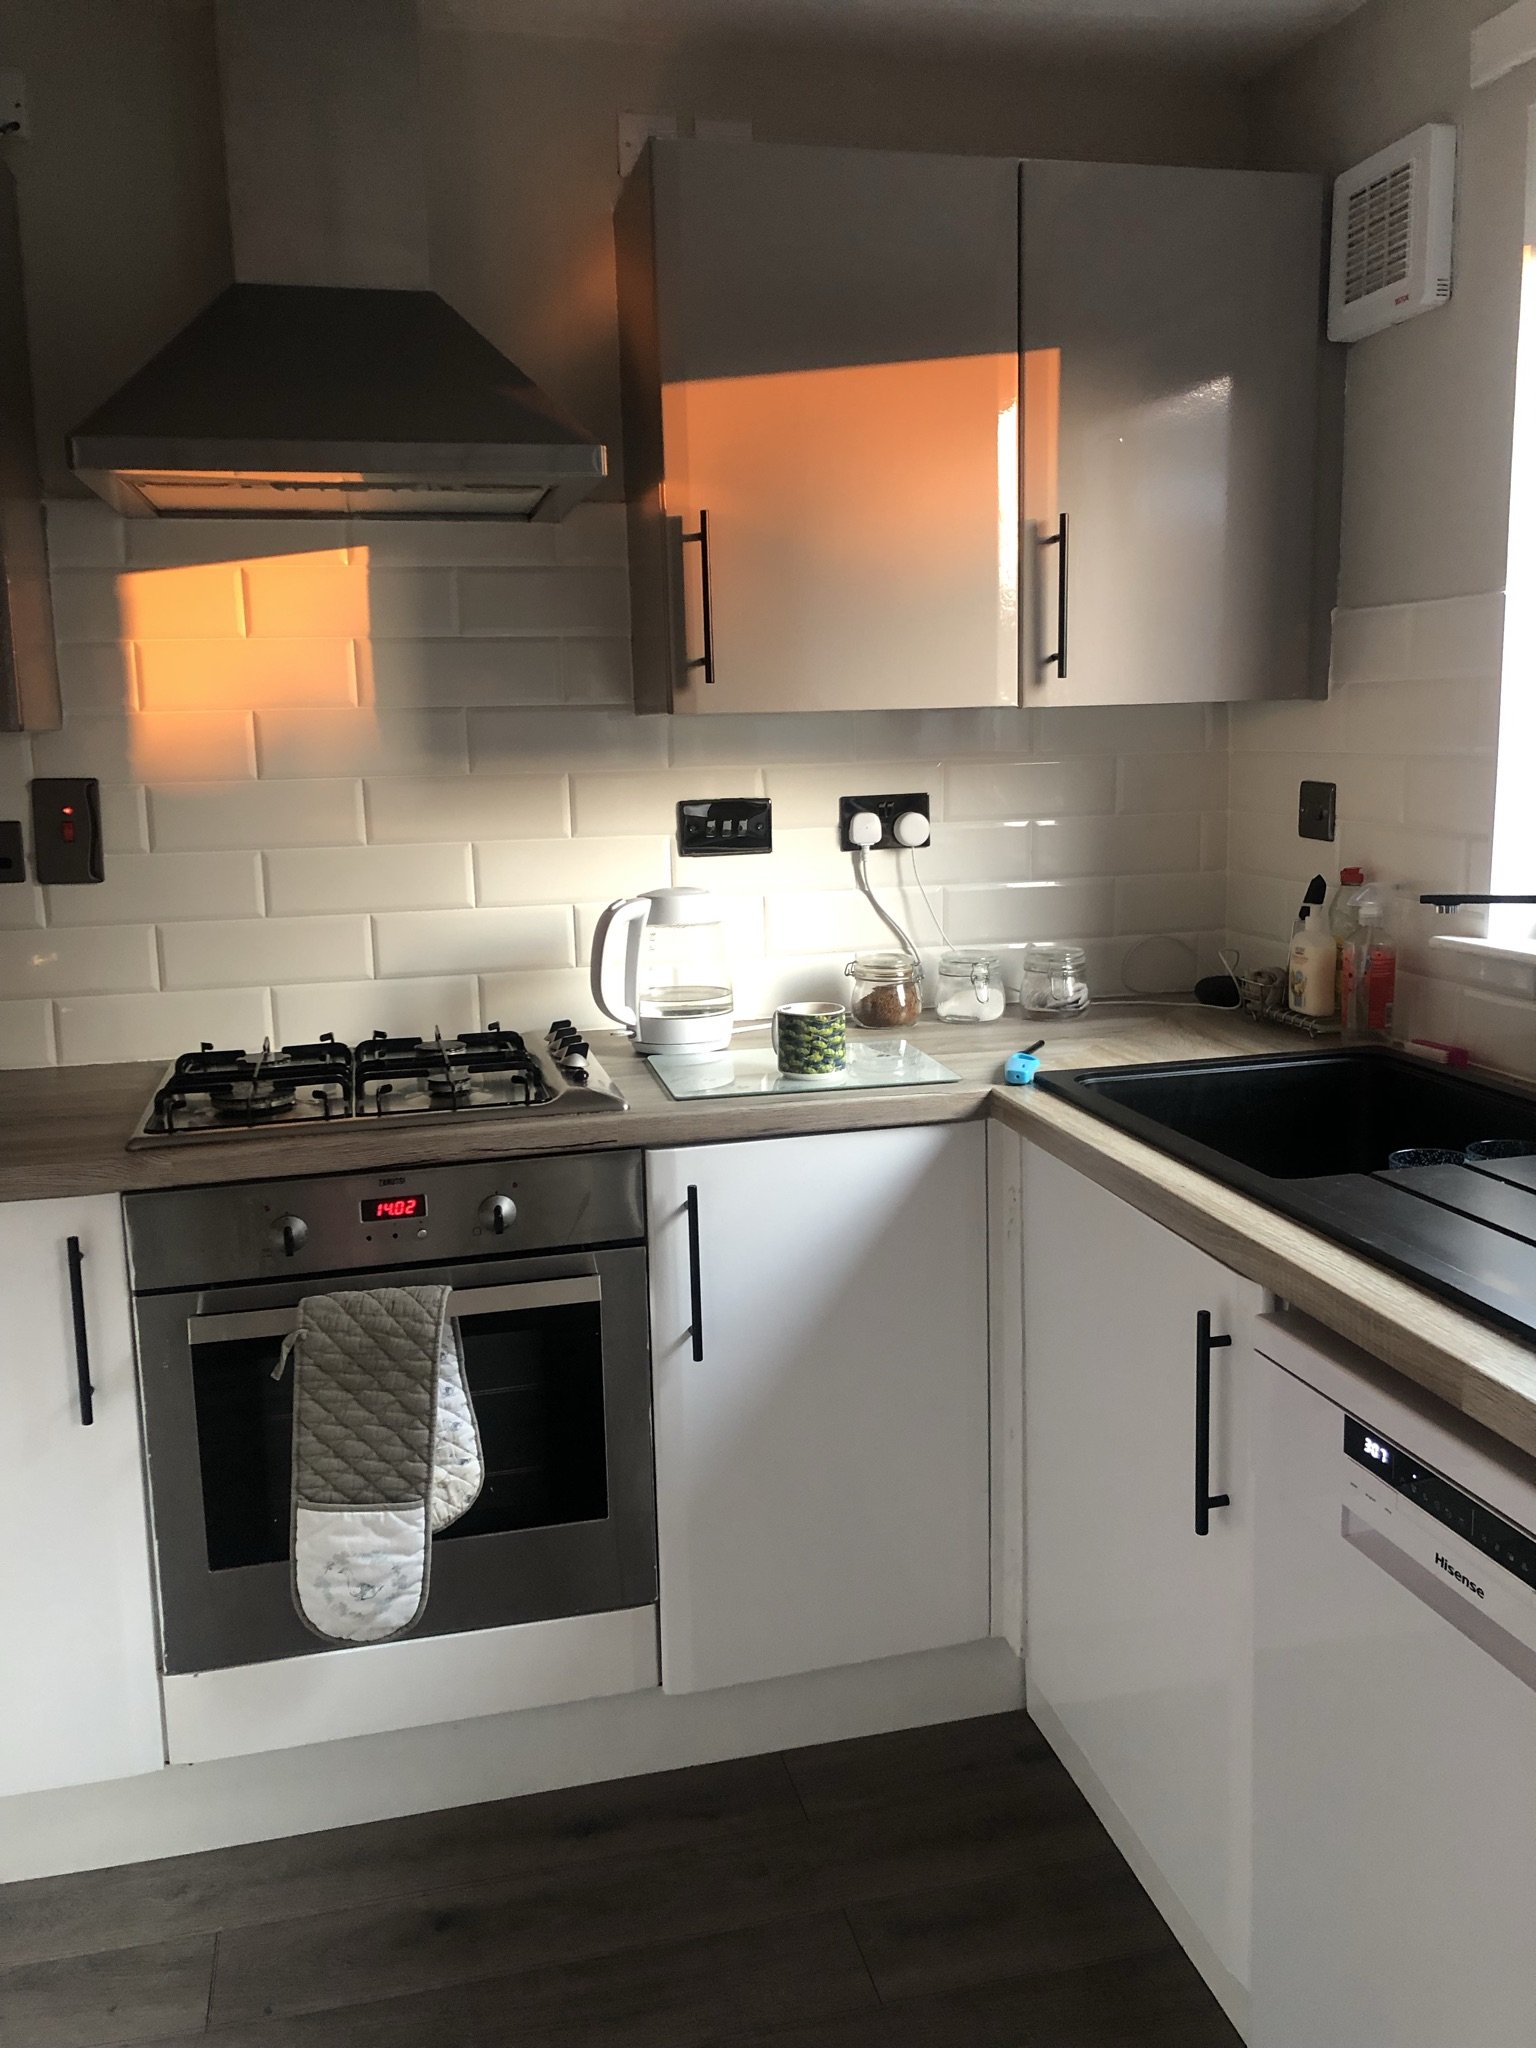
The doors were the easy part, as when it came to the worktop I was having to work around the cooker and sink, and also deal with the change in direction of the worktops.
Working around the sink and cooker was quite tricky, until I realised that the wood pattern plastic was much more forgiving than the plain colour plastic. This meant I could cut sections and join them together without it being very noticeable, meaning I didn’t have to use one big piece of plastic for the full area. This sped up the process and you truly cant notice the joins.
On the other hand I had decided I wanted to follow the same shape as the worktop joins already were, having a diagonal join where the 2 meet, this was fairly tricky as I had to get the line straight to ensure it looked good. In the end I used an old piece of laminate as a ruler and my knife and went for it. Quite wild from me when I look back but it turned out well.
Does sticky back plastic last?
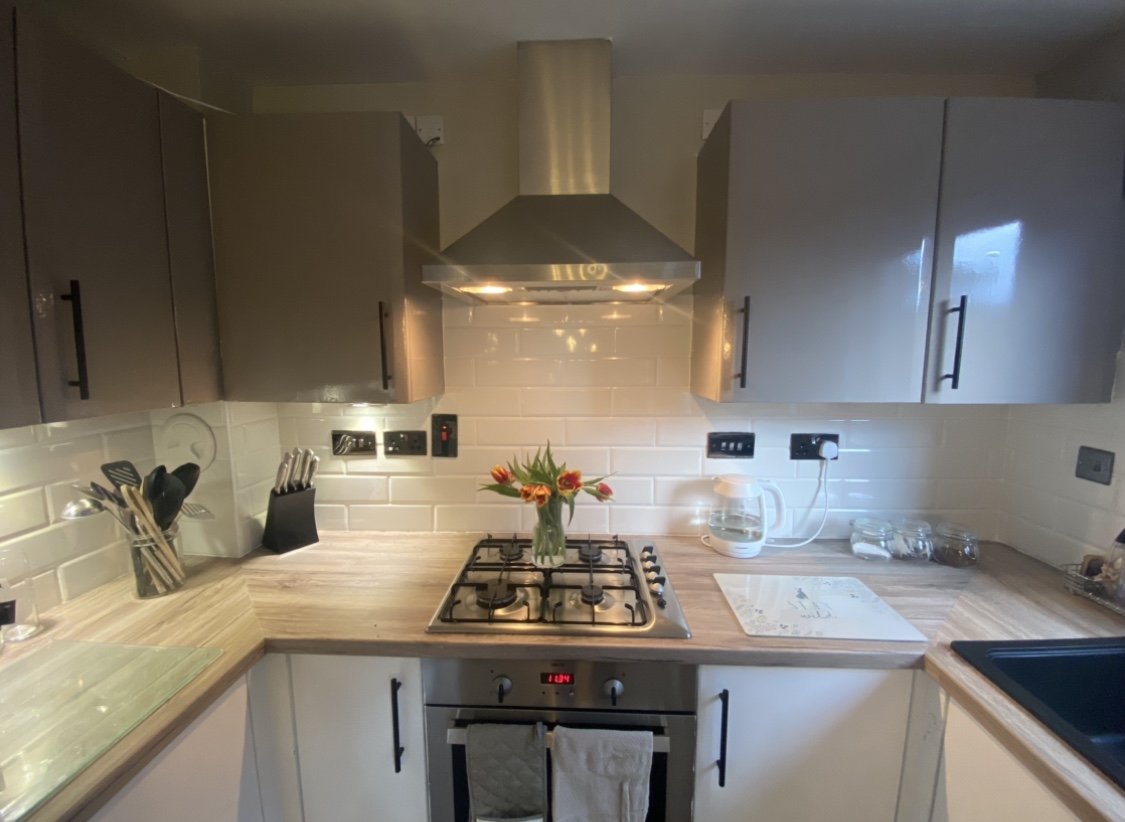
It does. We have had it for over 18months now and its doing well. The worktop has suffered a couple of scratches but this could easily happen with a wooden worktop too. All of the doors still look great.
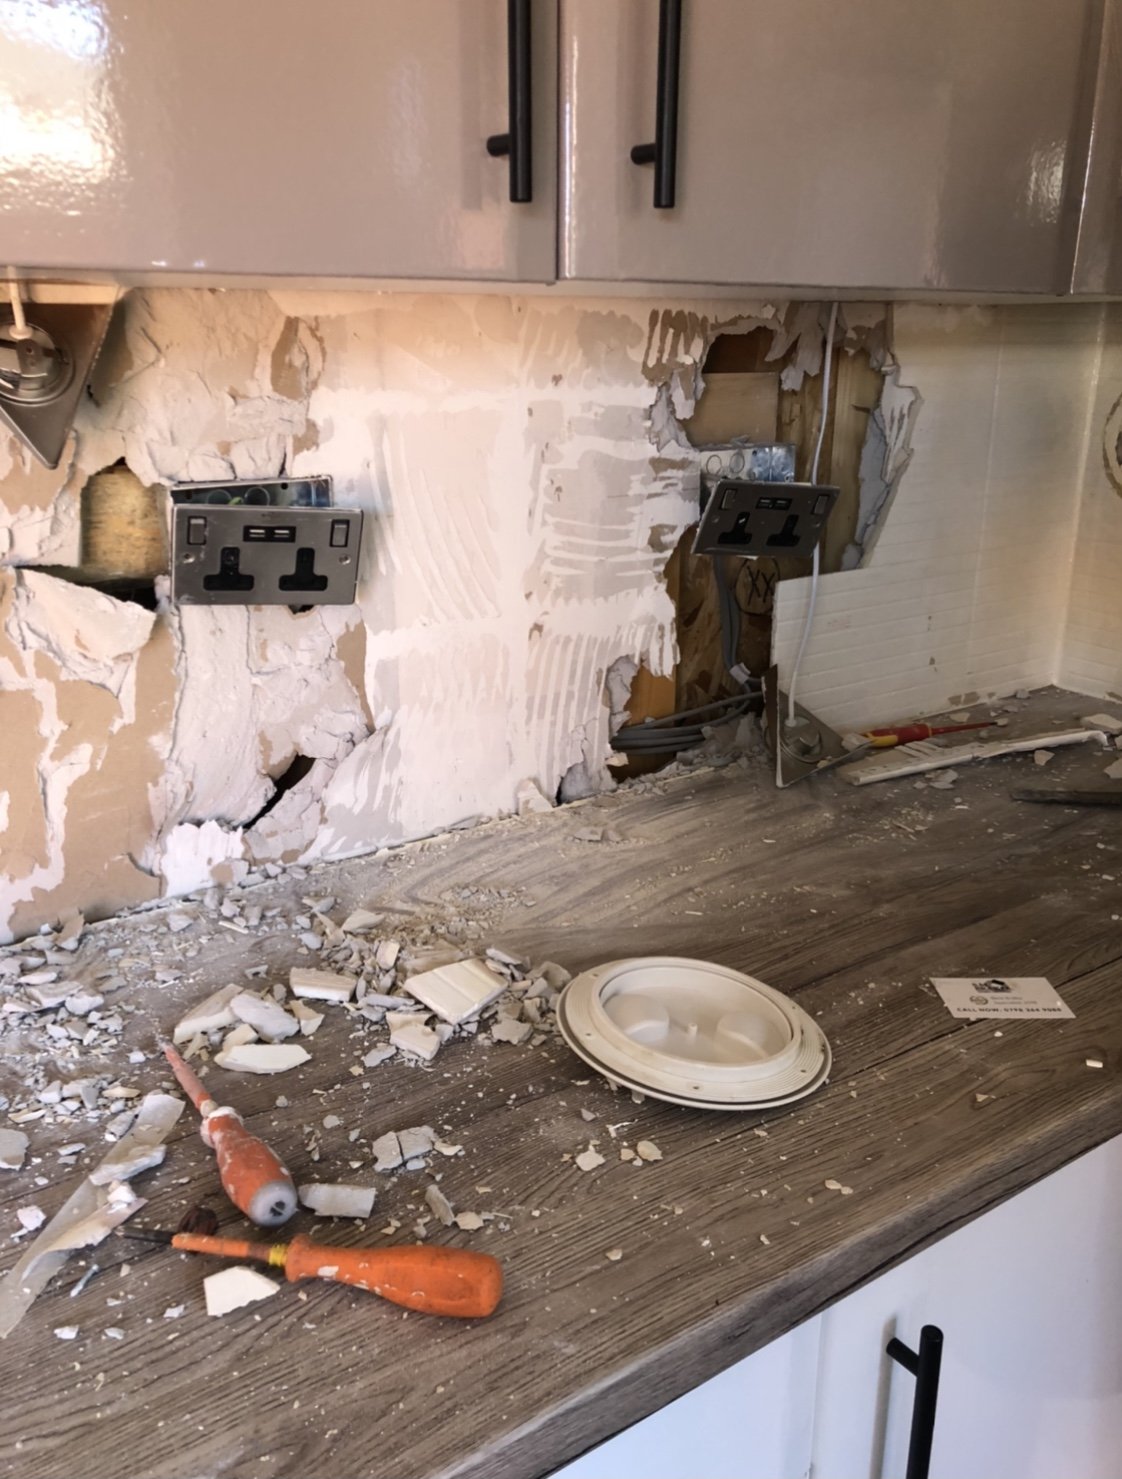
Other ways to freshen up your kitchen
As well as the plastic we decided to install a new sink and tap, change the handles on the doors and also get new backsplash tiles. These were fairly cheap ways of giving the kitchen a full revamp without spending too much.